
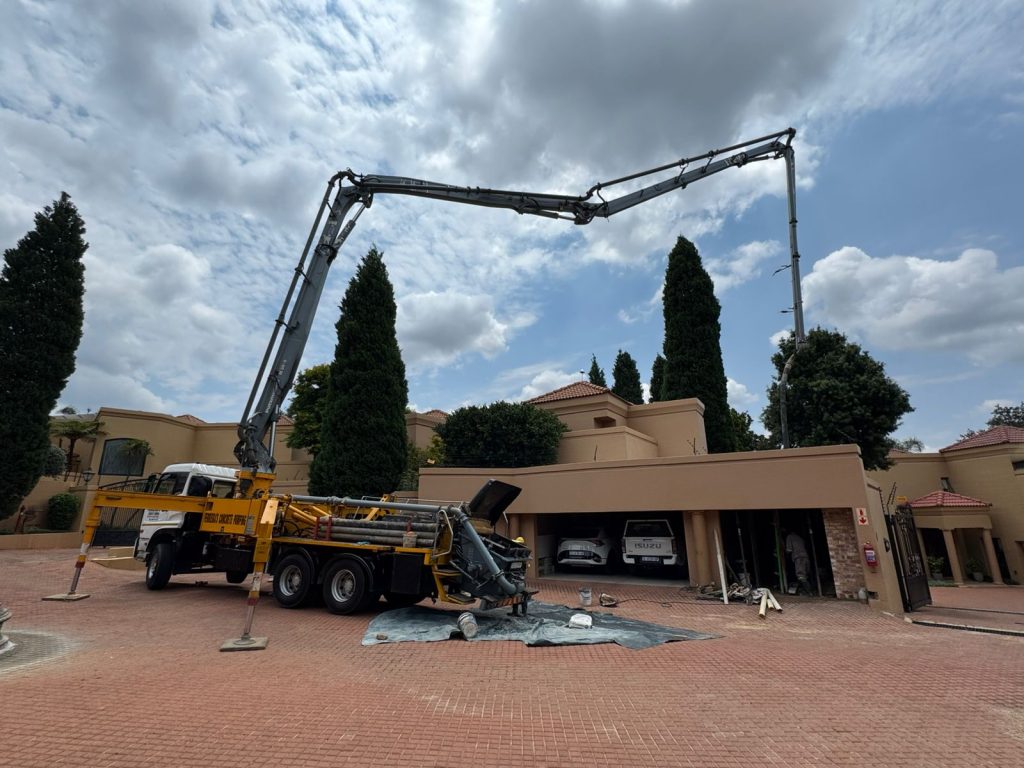
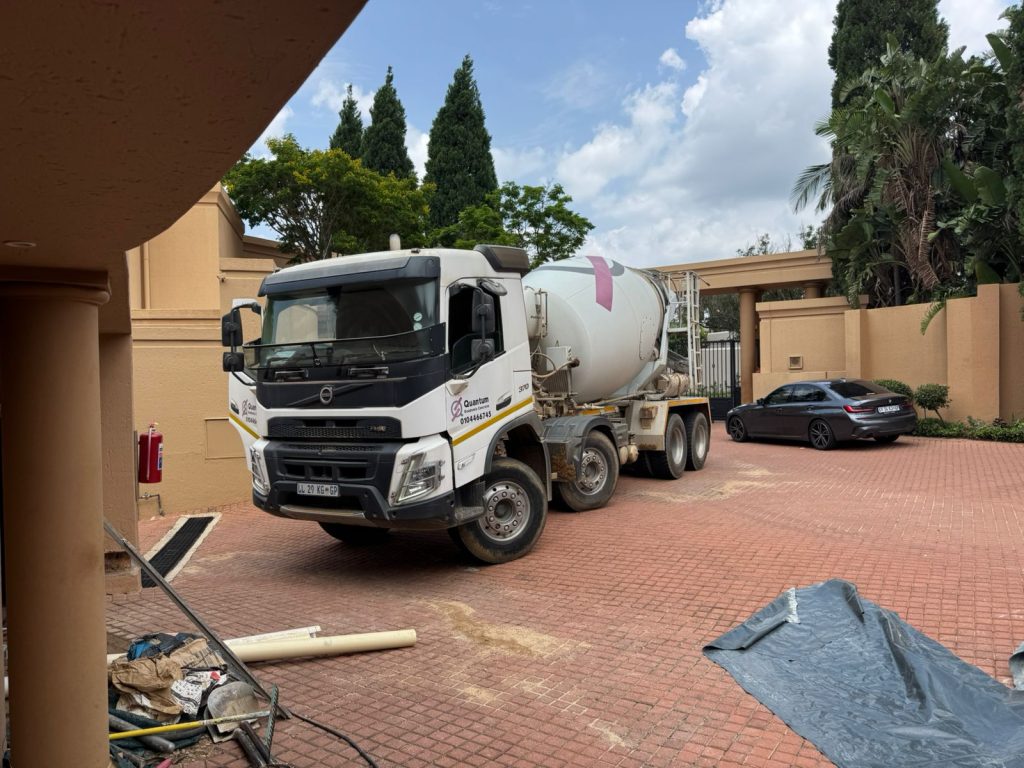
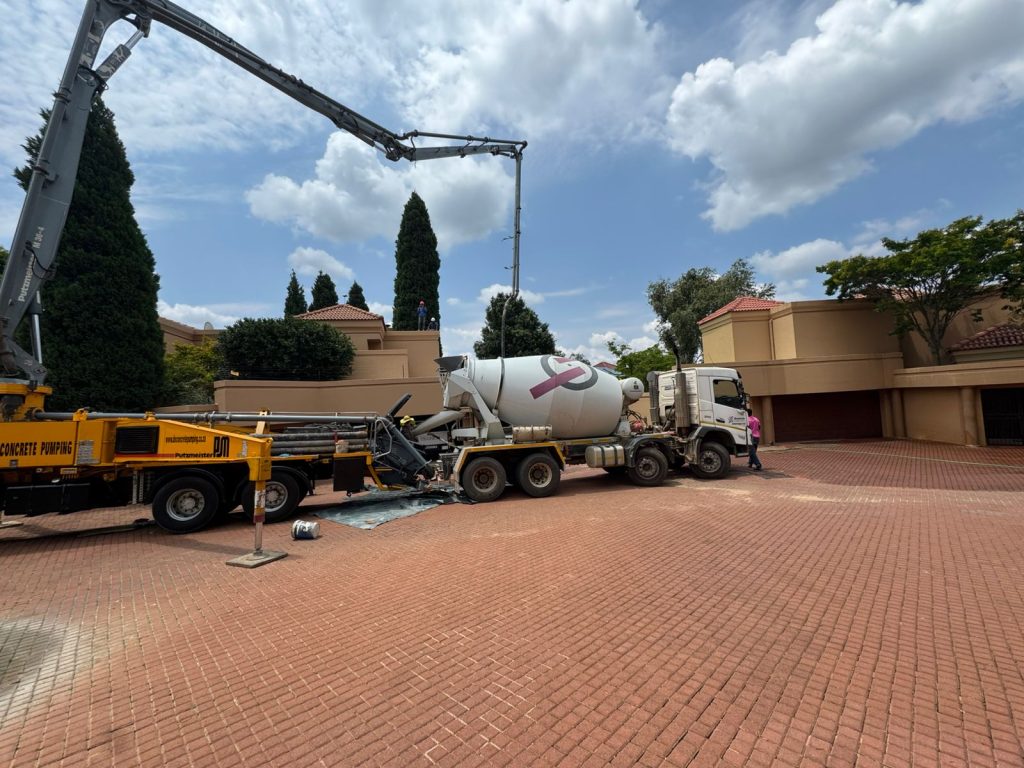
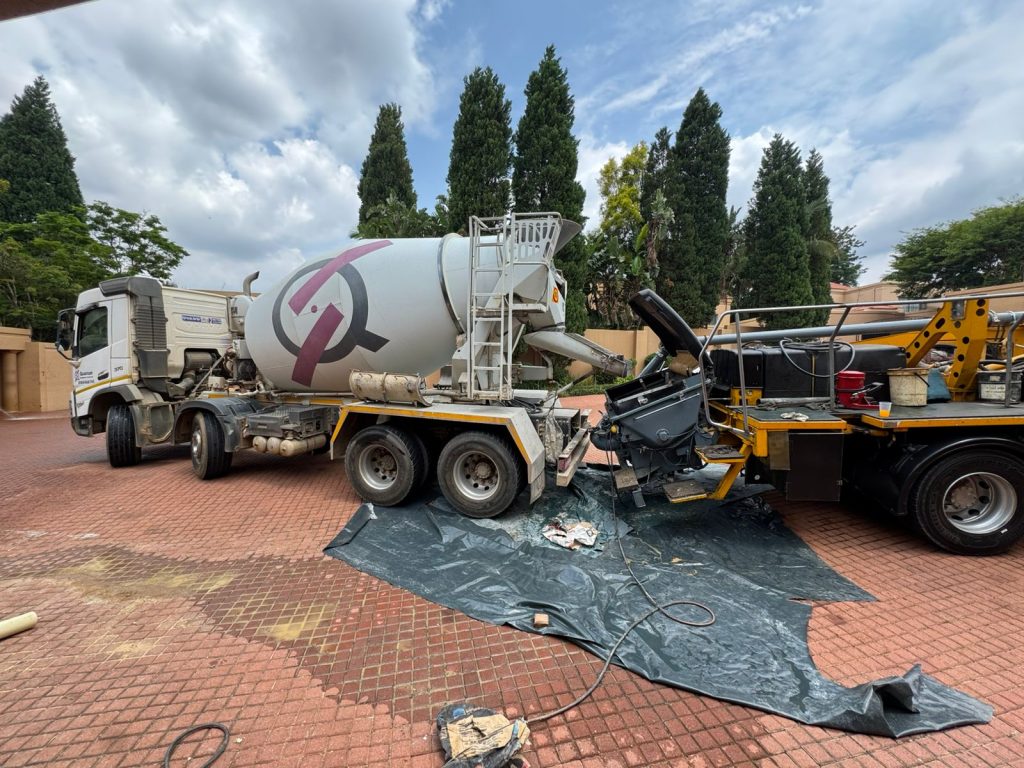
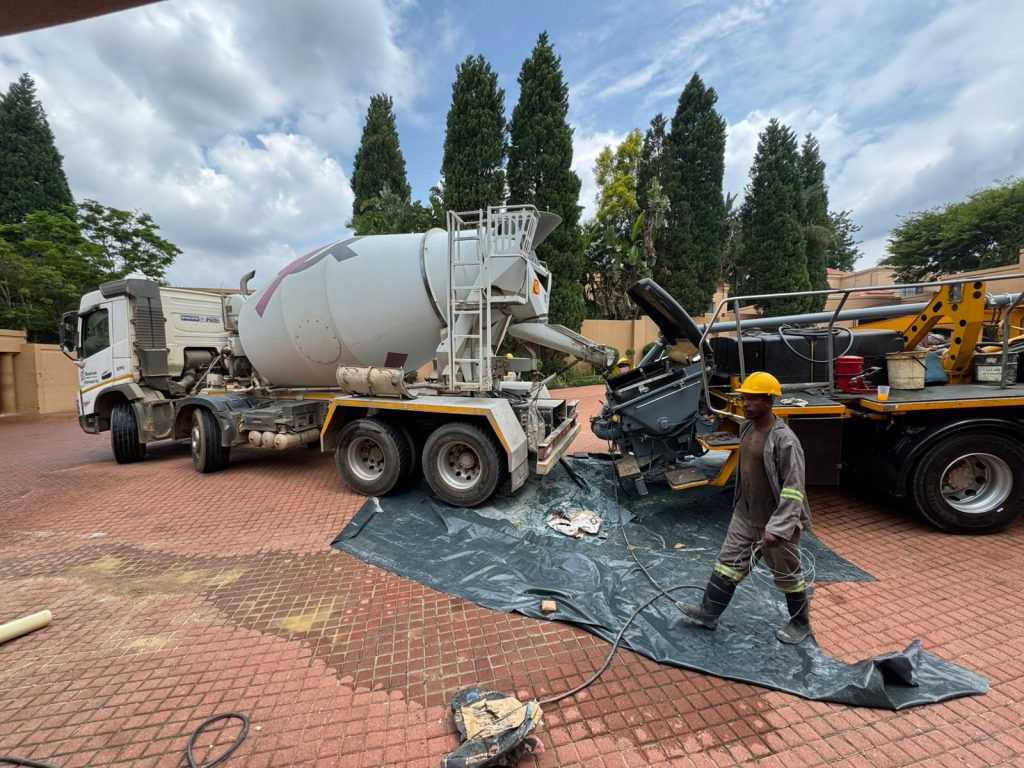
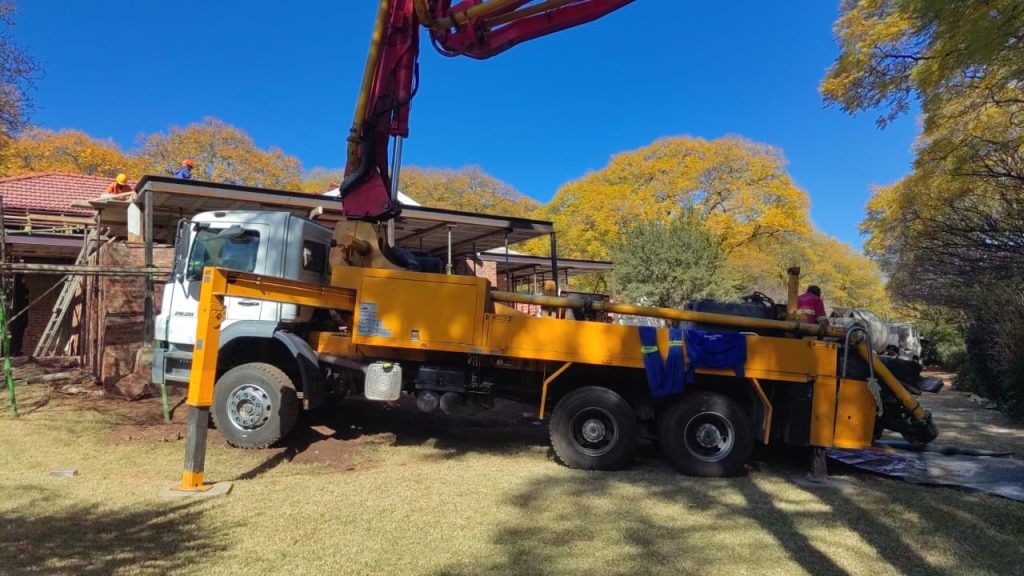
Newlands Building Project professionals installing a Flat Roof Slab using ready mix trucks and a concrete pump.


How to Install a Slab Roof: Complete Guide with Engineering Design and Waterproofing Tips
Installing a concrete slab roof requires precision, proper planning, and the right materials to ensure strength, durability, and protection from weather elements. This post will guide you through the process, from understanding the planning, engineering design, through steel reinforcement to applying effective waterproofing. We’ve included pictures and videos for a complete experience.

1. What is a Slab Roof?
A slab roof is a horizontal concrete surface that serves as both a roof and a structural element of the building. Slab roofs are common in modern architecture for flat-roofed buildings, offering a durable and weather-resistant solution.
2. Engineering Design for Slab Roofs
Before starting construction, it’s essential to follow a proper engineering design. The key elements include:
Structural Considerations:
- Reinforcement: Steel bars (rebar) are placed in a grid pattern within the concrete to enhance tensile strength.
- Thickness: Typically, residential roof slabs are 4 to 6 inches thick, but the exact measurement depends on the building’s load requirements.
- Load Capacity: Ensure the slab is designed to support live loads like equipment, furniture, and potential water pooling.
Slope for Drainage:
A flat roof is never entirely flat. It must have a slight slope of at least 1:100 to ensure rainwater drains properly toward the outlets.
3. Step-by-Step Roof Slab Installation Process
Step 1: Preparing the Site and Framework
- Clear the construction site.
- Install formwork (temporary molds) around the roof area.
- Position steel reinforcement according to the structural design.
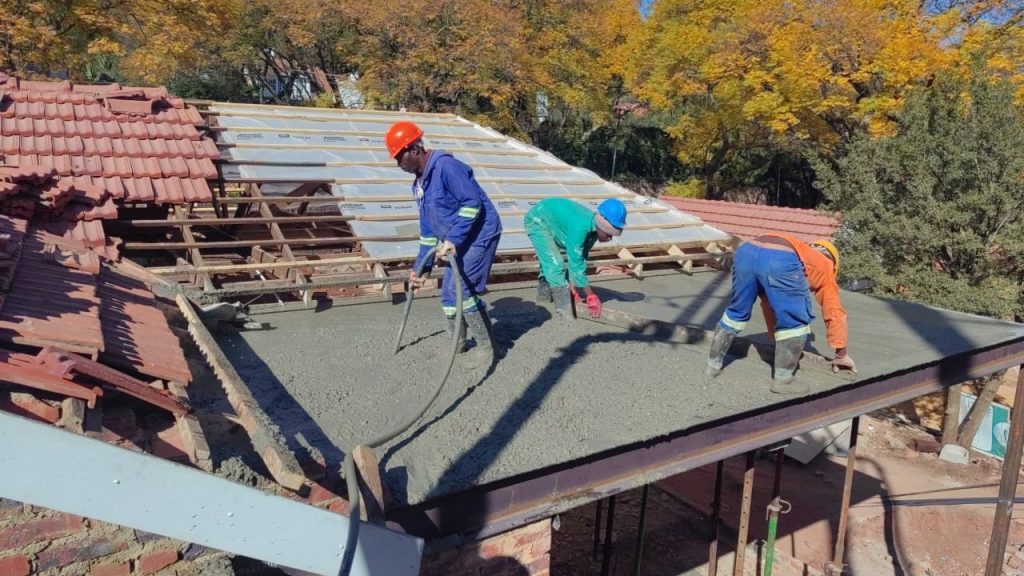
Step 2: Pouring the Concrete
- Use a high-quality concrete mix.
- Pour the concrete evenly and vibrate it to eliminate air pockets.
- Use a screed board to level the surface.
Step 3: Curing
- Proper curing is essential for the slab’s strength. Keep the slab moist for at least 7 days by covering it with wet burlap or plastic sheets.
4. Waterproofing the Slab Roof
Waterproofing is crucial to protect the slab from rain and prevent leaks. Here are common methods:
- Liquid Membrane Coating: Applied in layers to form a seamless, waterproof surface.
- Bituminous Membrane: A durable, torch-applied membrane commonly used for flat roofs.
- Polyurethane Coating: Provides excellent waterproofing and UV resistance.
Photo Gallery: Roof Slab Installation Process
Here’s a visual representation of the entire process, from formwork to finishing.
5. Watch Step-by-Step Installation Videos
Video 1: Engineering Design and Reinforcement Placement
Learn how to plan and place reinforcement for maximum strength.
Video 2: Pouring and Leveling the Concrete Slab
A detailed look at the concrete pouring and leveling process.
Video 3: Waterproofing Techniques for Flat Roof Slabs
Discover effective waterproofing techniques that prevent leaks and damage.
Conclusion
Installing a slab roof requires detailed planning and execution. Following proper engineering principles and applying waterproofing can ensure that your roof slab is durable, safe, and resistant to the elements.
If you have questions or need assistance, feel free to leave a comment below!